How to Do Your First Push-Up: A Step-by-Step Progression
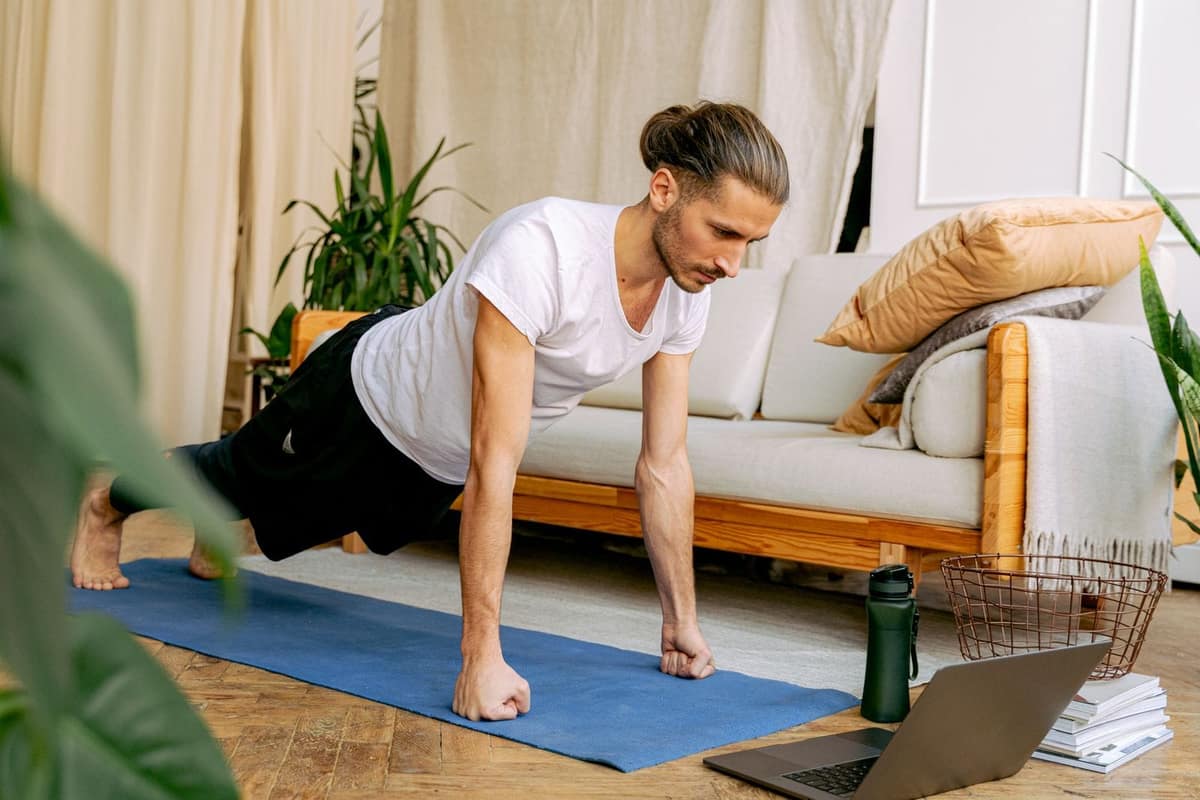
Not being able to do a push-up is a starting point, not a verdict. The fix is simple: make the push-up lighter by raising your hands, then lower them a little at a time.
Why the incline works
The higher your hands, the less of your body weight your arms have to move. A countertop push-up is the same movement as a floor push-up with a smaller load, so the strength carries over directly.
Step 1: the incline push-up
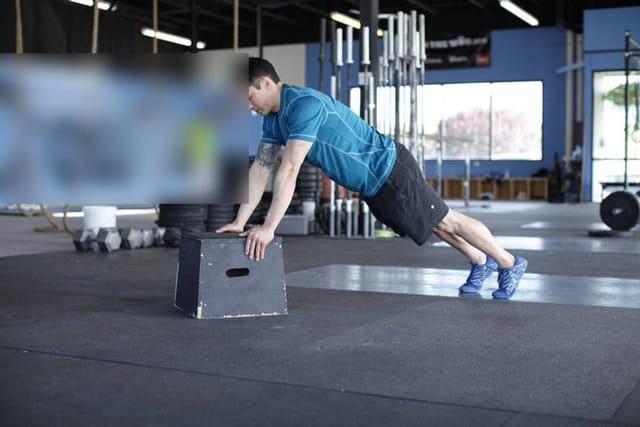
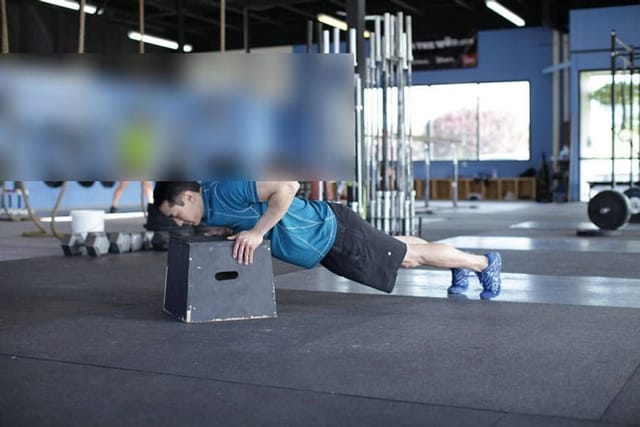
Incline Push-Up
- Place your hands on a sturdy chair, bench or countertop, a little wider than your shoulders.
- Walk your feet back until your body is one straight line from head to heels.
- Bend your elbows and lower your chest toward the edge, elbows about 45° from your sides.
- Press back up until your arms are straight.
Form cue: Squeeze your glutes so your hips don’t sag.
Easier: Use a higher surface, such as a countertop or a wall.
The progression
| Stage | Surface | Move on when you can do |
|---|---|---|
| 1 | Wall | 2 sets of 12 clean reps |
| 2 | Kitchen countertop | 2 sets of 10 |
| 3 | Sturdy chair or bench | 2 sets of 10 |
| 4 | Low step | 2 sets of 8 |
| 5 | Floor | — |
There is no deadline. Some people move through the stages in a few weeks; many take longer. Make sure whatever you lean on cannot slide or tip.
Step 2: the floor push-up
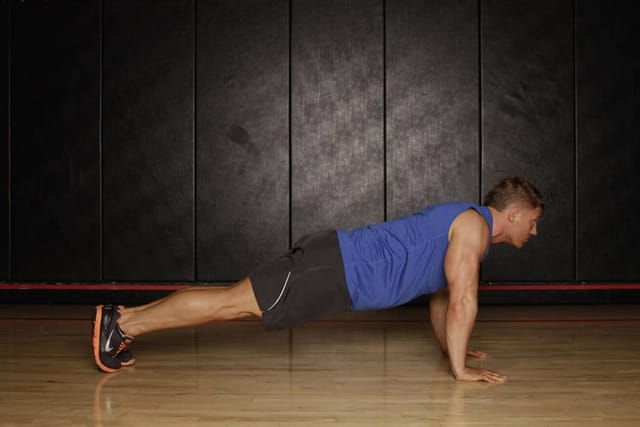
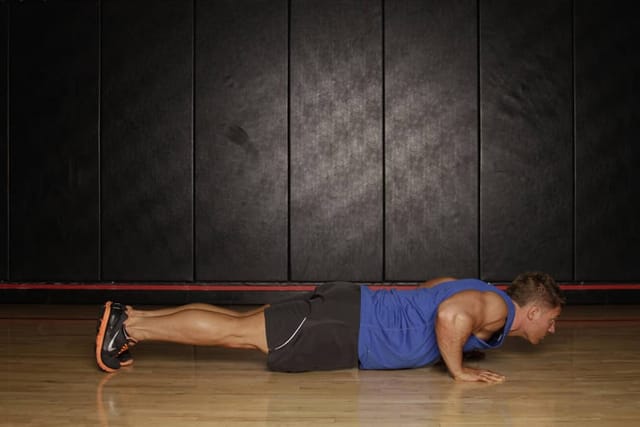
Push-Up
- Start in a high plank: hands under your shoulders, legs straight, feet together.
- Brace your abs and keep your body in one straight line.
- Lower your chest until it is just above the floor, elbows about 45° from your sides.
- Push the floor away until your arms are straight.
Form cue: Chest and hips move together — no worming up.
Easier: Do the Incline Push-Up, or keep your knees on the floor.
Build the straight line with planks
Most failed push-ups fail at the hips, not the arms. A plank trains the straight body position a push-up needs.
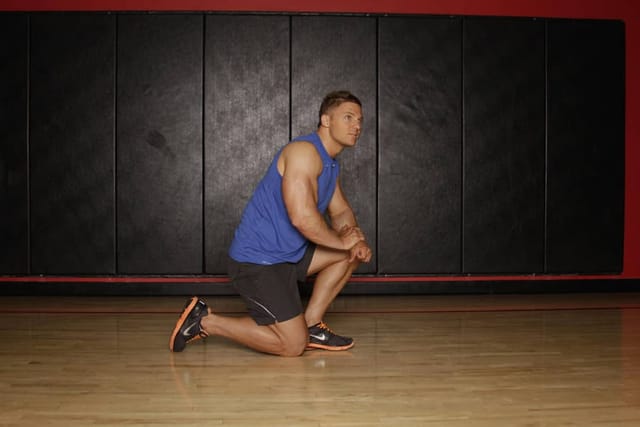
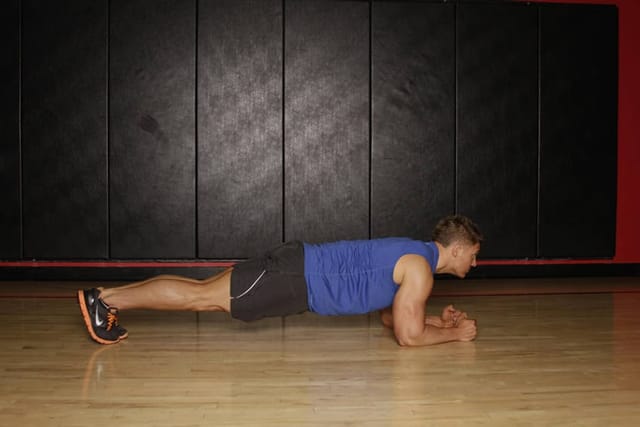
Plank
- Kneel, then place your forearms on the floor with elbows under your shoulders.
- Step your feet back one at a time until your legs are straight.
- Hold a straight line from head to heels and breathe normally.
- Stop the hold as soon as your hips start to sag.
Form cue: Tuck your tailbone slightly and squeeze your glutes.
Easier: Keep your knees on the floor.
Three form mistakes to avoid
- Sagging hips. Squeeze your glutes and brace your abs.
- Flared elbows. Keep them about 45° from your sides.
- Half reps. A full rep on a higher surface beats a half rep on the floor.
The CaliStart bundle is 84 days of sessions like this, from beginner to advanced, one page a day, with photos of every move. Seven PDFs, pay once.
General fitness information for healthy adults, not medical advice. Talk to your doctor before starting an exercise program, and stop if you feel pain, dizziness or chest discomfort. Results vary. The people in the photos are models.